Modified Goldring Lenco GL59/L70
I've been building something again.
A little different to my usual, but not by much.
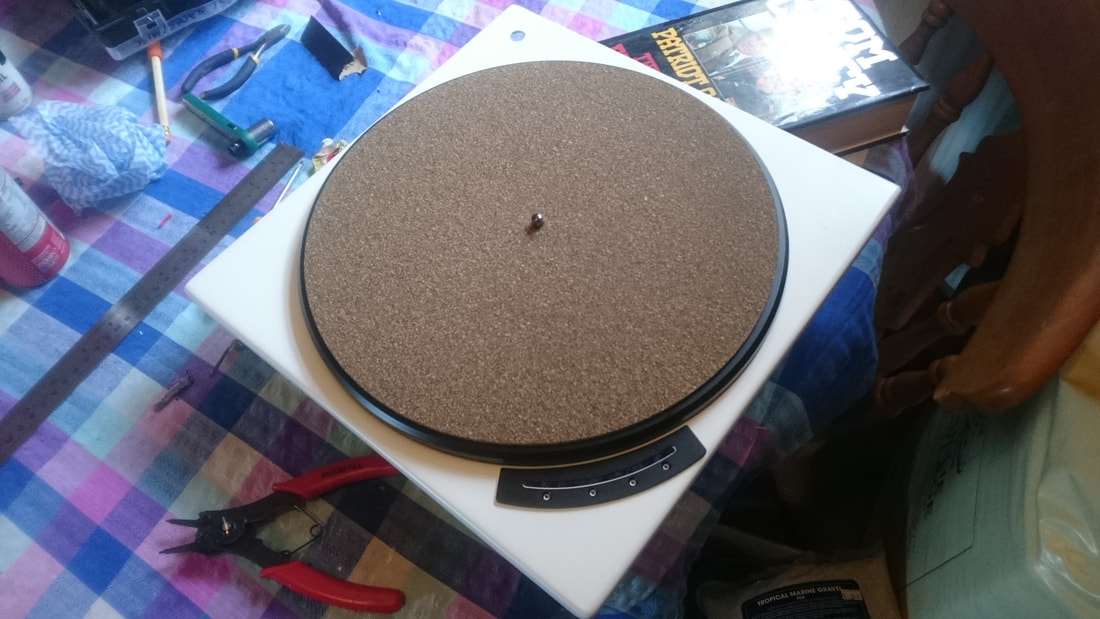
I had a Lenco GL59 hanging around doing nothing, so I've done what a friend of mine did years ago and chopped it down into a motor unit.
From this....
A little different to my usual, but not by much.
I had a Lenco GL59 hanging around doing nothing, so I've done what a friend of mine did years ago and chopped it down into a motor unit.
From this....
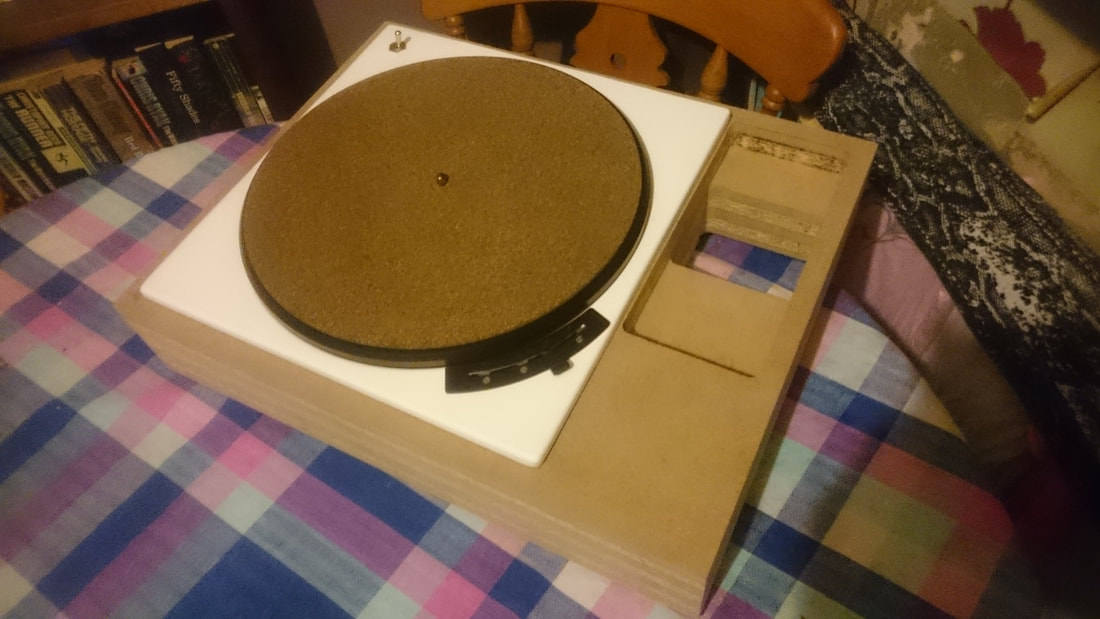
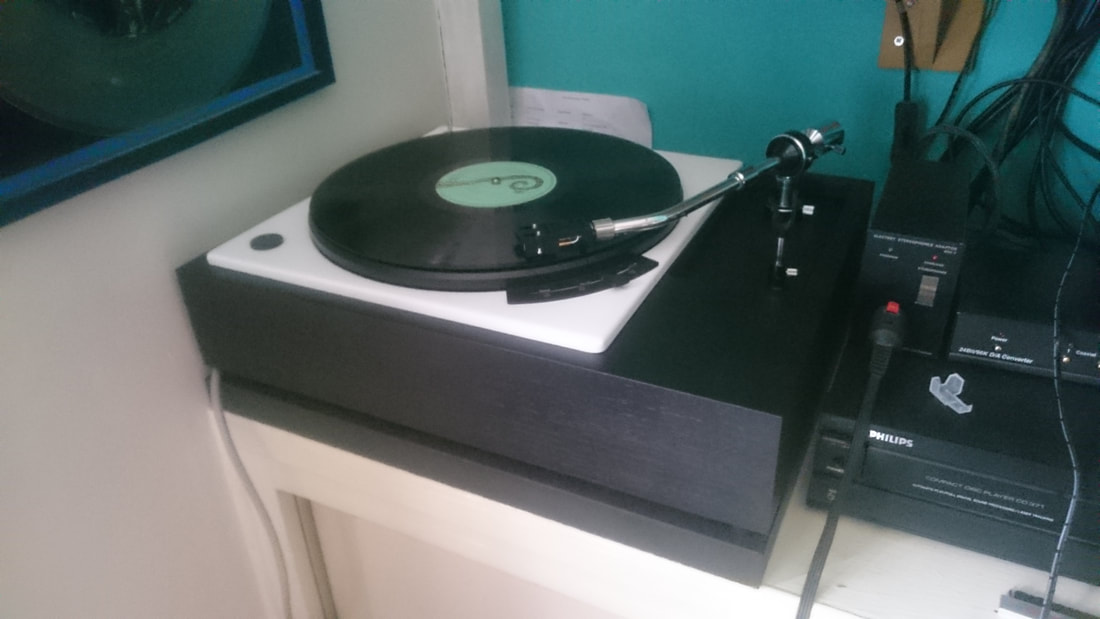
To this.........
I initially painted it black, but I didn't like it so I did it in matt white instead. There was no arm on the deck when I got it, In truth I didn't know what I was going to do with it. This seemed like as good idea as it was never going to be a factory restoration, there was too many bits missing. I had a piece of steel welded into the cut edge and then profiled the top edge of that section with a file so it matched the profile of the other sides
The motor was seized up and the spindle was rusty so it was rebuilt. It looked like this
The motor was seized up and the spindle was rusty so it was rebuilt. It looked like this
I took the motor apart to have a look at it and found that the nose bearing was seized up and was jammed up to the spindle, and that the oil fling washer was pushed right up to the brass insert in the cradle which was why it wouldn't move. I put the spindle in the lathe and used some polishing compound to remove all the rust and deposits from the spindle in a gentle manner rather than using wire wool or something equally abrasive. Came up lovely and was proved to be bang true with the rotor.
Next thing I did was to strip the platter of its white paint and paint it, and the speed marking plate black to contrast with the white chassis
Next was the plinth. A simple cld type, this time using 12mm layers of alternating MDF and flooring grade chipboard. I made it as compact as possible, but with enough room on the arm side to put pretty much any arm on it as I have a few different arms.
I added a toggle switch for power and routed a 1" deep rebate for the arm board to fit into. I'd picked up a Pro-ject 9cc arm to go on the deck and it needed a rebate to lower the mounting boss as its quite tall
I added a toggle switch for power and routed a 1" deep rebate for the arm board to fit into. I'd picked up a Pro-ject 9cc arm to go on the deck and it needed a rebate to lower the mounting boss as its quite tall
I then veneered the arm board and the sides as the idea was for top was to remain black and have a contrasting veneer.
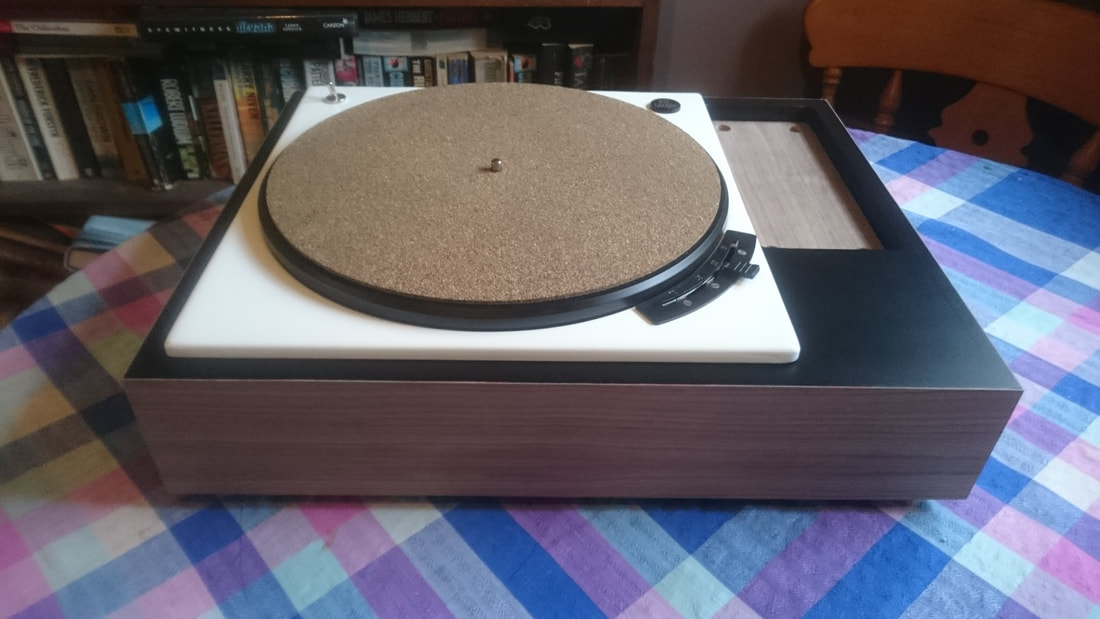
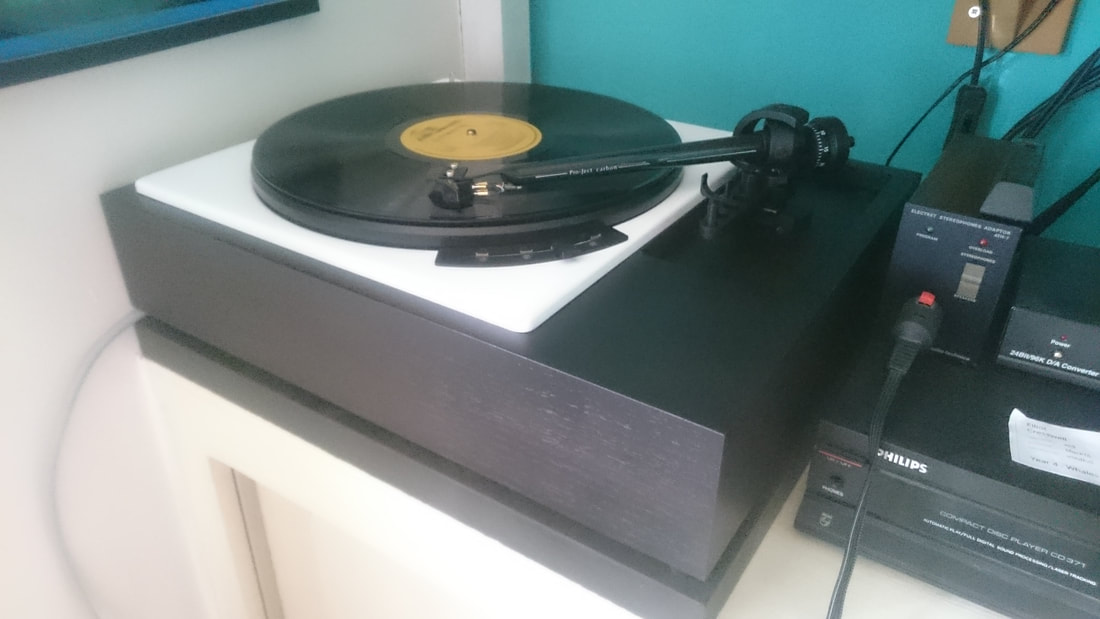
I really liked this, but the kids got something on the veneer which marked it so I had to rethink things and use an ebony stain to cover the blemish. The whole plinth was then sprayed in a satin clearcoat. It still looks just as nice, but I prefer the original finish. I fitted the Project arm and a Goldring E3, then proceeded to listen.
Sounds lovely............. But things didn't end there. She Who Must Be Obeyed (the wife) deemed 8 decks too many and demanded that some be sold off.
I was abit miffed about this, but the build of this deck had garnered abit of attention and a friend of mine decided he wanted it for a vintage style system he was setting up including some 70s speakers and a valve amp. He wanted to have a period arm put on it, so the arm board was reworked to accommodate an Audio Technica ATP-12t arm and Denon Dl103 which were duly fitted and set up.
I was abit miffed about this, but the build of this deck had garnered abit of attention and a friend of mine decided he wanted it for a vintage style system he was setting up including some 70s speakers and a valve amp. He wanted to have a period arm put on it, so the arm board was reworked to accommodate an Audio Technica ATP-12t arm and Denon Dl103 which were duly fitted and set up.
was sad to see it go, but it has gone to a good home and will be appreciated. A short and sweet project
